
Quick Answer
Household leaks can waste 180 gallons of water a week, and toilets lead the list. 7 proven ways to stop a flooding toilet, ranked by DFW restoration owners.
A toilet bowl that keeps rising will not wait for you to find a plumber. You have seconds to decide which stop actually works, and the right order protects the bathroom floor below it. We are Graham and Heidi, and this is the order we want every DFW homeowner to know before the water reaches the rim.
Why Should You Stop the Water Before You Plunge?
A plunger clears the drain. It does nothing to the water pouring into the bowl while you pump. Homeowners plunge, watch the level climb anyway, lose another minute, and end up with two problems: a clog and a flooded floor. The sequence matters more than the tool.
The tank above the bowl holds a small volume of water, between 1.6 and 3.7 gallons depending on how old the fixture is. The fill valve behind it is the real threat. A stuck fill valve recycles fresh line pressure into the bowl nonstop, so an overflow that starts small keeps going while you look up plumber reviews.
Our rule is simple and we will repeat it in every section below: inflow off first, drain second, cleanup third. We would defend that order against the internet's plunge-first advice, because a cleared drain under a fill valve that never closed still floods your floor. If you remember nothing else from this page, remember that stopping the water is a two-hand job that starts behind the toilet, not in the bowl.
How We Ranked the 7 Ways to Stop a Flooding Toilet
We ranked the seven stopping methods against one question a homeowner can only ask once: how fast does the water hit zero? Time to stop the inflow is the whole scoreboard. Convenience, mess, and tool requirements only matter after the flow stops.
Here is the ranking, fastest first, with each method's hard limit called out:
| Method | Stops inflow? | Time to stop | Its limit |
|---|---|---|---|
| 1. Toilet shut-off valve | Yes, fully | 5 to 10 seconds | Seizes in older homes |
| 2. Press the flapper down | Tank water only | 10 to 15 seconds | Reach and a wet hand |
| 3. Lift and secure the float | Refill only | 10 to 15 seconds | Not a supply-line stop |
| 4. Main house shutoff | Yes, every fixture | 1 to 3 minutes | Location and a seized wheel |
| 5. Bail the bowl by hand | No | Never stops flow | Buys about a pint per scoop |
| 6. Plunge the bowl | No | Clears clog only | Set up after inflow stops |
| 7. Wet-dry vacuum | No | Cleanup only | Never on contaminated water |
The first four stop water entering the bowl. The last three manage water that is already there. We recommend practicing moves one through three on your own toilets this weekend, while nothing is flooding, because the one you will reach for in the dark is the one your hands already know.
Which Steps Stop a Flooding Toilet First? The 7 Moves in Order
Run these in sequence and stop at the first one that works. Each move gets its own line so you can scan them standing up.
- Turn the shut-off valve behind the toilet clockwise until it stops. A quarter turn past resistance is enough.
- Press the tank flapper down with your hand or a broom handle to seal the flush valve.
- Lift the float to the top of its travel and hold it there with a stick to trick the fill valve into closing.
- Close the main house shutoff when no fixture-level valve turns.
- Bail bowl water into a bucket while you work, scooping from the center where the water is deepest.
- Plunge the cleared bowl only after inflow has stopped, with enough water in the bowl to cover the rubber cup.
- Extract standing floor water with a wet-dry vacuum, and only if the water ran clean out of the tank.
Two habits kill more bathrooms than any clog. The first is a second flush, which adds another full tank volume straight over the rim. The second is plunging a bowl that is still filling. We tell every neighbor we work with: stop the inflow, then clear the drain, in that order, every time.
How Do You Shut Off the Toilet Supply Valve Without Breaking It?
The shut-off valve sits on the wall or floor behind the toilet, where the braided supply line meets the pipe. Oval plastic handle on newer homes, small round wheel on older ones. Clockwise until it will not turn. That single hand is the difference between a towel dry and a demo crew.
Do not muscle a stiff handle. These valves are rubber-seated and they calcify in place when nobody exercises them, which is most of them in most homes. Force snaps the stem or crushes the seat, and a seized twenty-dollar angle stop becomes an active leak inside a wall cavity. A hard turn that gives a quarter rotation is success. A handle that will not move is your signal to move to the flapper method instead.
Seized angle stops are routine here for a geological reason. DFW sits on Blackland Prairie expansive clay, and the shrink-swell cycle moves slab foundations season after season. That movement works against stub-outs and valve stems in ways flat-ground plumbing never sees. Our guide to what a leaking water heater is telling you covers the same seizing math on the other big fixture in your house.
Our recommendation costs you five minutes: turn every fixture valve in your home a quarter turn this weekend and back. Loosened by hand once a year, a valve is fine for a decade. Left alone, it is a frozen coin flip the night you need it.
How Do You Stop the Tank When the Valve Is Seized?
Take the tank lid off flat and set it somewhere safe, on a bed or tub cushion, because dropping it is how a water problem becomes a porcelain problem. Two hand moves inside the tank replace the stuck valve.
Press the flapper down. The flapper is the rubber seal covering the flush valve at the tank bottom. A toilet overflowing mid-flush means water is pouring over the rim faster than the flush valve drains the tank, or the flapper is hanging open. Pressing it closed with your hand or a dowel stops everything the tank can deliver, within seconds, no tools required.
Lift the float. The float ball or float cup rides the fill valve, and holding it at the top of its travel tells the valve the tank is full, and the valve closes. This defeats the never-ending refill, but learn the limitation: a leak downstream of the tank, at the bowl-to-floor seal or the supply line itself, keeps feeding from line pressure until you reach the main.
We keep a length of dowel on a hook above the water heater for exactly this job, and we will happily set one up on your next service call. The point of view is deliberate: hands in the tank beats hands in your wallet, and both beat a soaked subfloor.
When Should You Close the Main Water Shutoff?
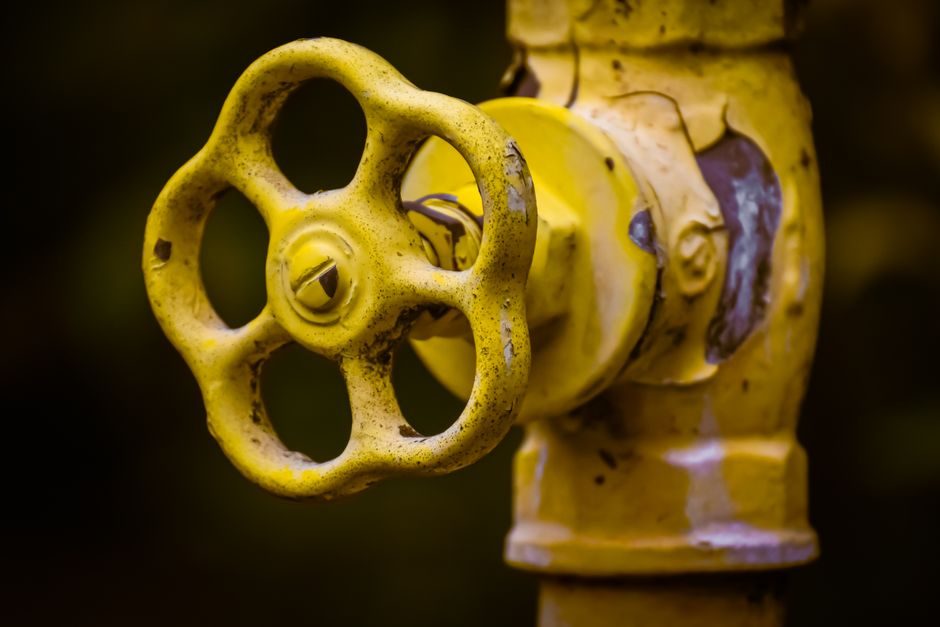
Close the main when the fixture valve is frozen, when the leak is not at the toilet (a burst supply line or a failed bowl seal keeps feeding from the line), or when the overflow has already reached the floor and you are buying hours, not seconds. The main kills pressure to every fixture in the house, which is exactly why we treat it as step four and not step one.
Know where your main is before you need it. In most slab-era DFW homes it is a gate valve or ball valve behind the garage-facing wall, in a meter box out front, or in a utility closet. Walk your house and find yours now, because the night you need it the floor will have something on it.
Old gate valves like that wheel need a gentle back-and-forth, never brute force, or you shear the stem and lose the whole house mid-flow. A ball valve with a lever takes a quarter turn to perpendicular and thanks you for it. Our stance on emergencies, on water heaters or anything else: when your fixture valves fail, the water is gone, then you call. We would rather find that seized wheel with you on a sunny Saturday than with you at two in the morning.
Is a Toilet Overflow Clean Water or Sewage?
The answer decides whether you mop or you call, so it earns its own section. The IICRC S500 standard, the protocol most DFW adjusters work from, sorts water into categories, and a toilet can produce two very different kinds in one event.
Water straight from the tank or the supply line that never touched the bowl is Category 1, clean water. It is a quick containment-and-dry job, and on tile you can genuinely handle it with towels, a fan, and fast dehumidification. The moment water has been in the bowl, or has backed up from the drain, you are in Category 2 at minimum, and anything carrying waste is Category 3, which is gross-water territory.
Here is where we draw a hard line. A consumer wet-dry vacuum is not safe on Category 3 water, because the motor aerosolizes whatever it pulls, and a bathroom floor with waste water on it is not a weekend project. Category 3 sits on floors, wicks into baseboards, and finds the gap under your vanity within minutes. That calls for containment, antimicrobial treatment, and trained techs on emergency water extraction.
Our recommendation is one question: did the water come out of the tank clean, or did it come up through the bowl? Clean and caught inside ten minutes on hard flooring is yours. Anything grey, anything smelly, anything on carpet, and we would rather look at it than inherit the call later.
What Makes a DFW Toilet Overflow Worse Than a Normal Leak?
Three local conditions stack the deck against North Texas bathrooms, and knowing them changes how fast you act.
First, the fixtures fight the soil. Toilets built before 1994 can dump 6 gallons per flush (EPA WaterSense), and the pre-1994 stock is thick in Oak Cliff, Fairmount, and older Garland and Arlington blocks, with more arriving every time a resale skips the plumbing. The federal standard has been 1.6 gallons since 1992. That old high-volume tank sitting on tired wax rings and calcified valves is a slow-motion overflow with your name on it.
Second, the numbers say this is a chronic problem, not a freak event. Toilets account for nearly 30 percent of an average home's indoor water use, per EPA WaterSense, and the same EPA guidance warns that household leaks can waste 180 gallons of water a week, with worn flappers as the most common culprit. A flapper leaking quietly all quarter is the same failure, at low volume, that floods a floor at full volume.
Third, our climate closes the drying window before you finish mopping. July and August dew points regularly sit in the 70s here, so water in a baseboard cavity is drying on nobody's schedule but the mold's. The EPA mold guidance tells homeowners to dry wet materials within 24 to 48 hours, and that window is the practical deadline after any overflow that reached flooring. Second-floor bathrooms add a second victim: water follows gravity through the subfloor, and the first honest sign of it is a water stain on the ceiling below.
We tell Collin County homeowners with 2005-plus builder-grade fixtures and slab foundations the same thing we tell everyone: your valves are younger but your stack is shallow, so exercise the valves annually and treat any overflow past the rim as a drying race you start inside the first hour.
Which Call Is Right for Your Home? Our Pick After the Water Stops
Our pick, for nearly every real overflow we are called into: valve first, flapper second, main third, and a professional set of dryers running before the 48-hour mark if water touched anything soft. The fixture fix is cheap and often yours. The building dry-out is the part that decides whether this event costs an afternoon or a wall.
Handle it yourself when all three hold:
- The water ran clean from the tank, never the bowl.
- It stayed on tile or vinyl and you had it dry within your first hour.
- The shut-off valve turned freely, so the fixture itself is sound.
Call us when any of these is true instead:
- Water sat on the floor past 30 minutes, or the category is anything but clean.
- The overflow came up through the bowl, which means a drain-line problem, not a toilet problem.
- There is a ceiling stain, soft baseboards, or a musty smell that will not rinse off, because the water moved somewhere you cannot reach.
- The fixture valve snapped or the clog returned the same day, which points at the line under your slab.
If you are working an overflow right now, reach our 24/7 emergency line through our contact page, and if the work is insurance-funded, our claims support page walks through the paperwork we hand your adjuster. What we do all week is dry DFW homes before mold gets the vote, and how fast mold claims a wet home is its own story, over here.